Quickstart
Get BetweenRows running, connect an upstream PostgreSQL, create a user with a tenant attribute, write a row filter policy, and verify it works through psql and the audit log. Each step links to a detailed guide if you want the full picture.
Prerequisites
You need Docker and access to a PostgreSQL database (local or remote). If you don't have one handy, the demo stack brings up both BetweenRows and a pre-seeded PostgreSQL in one command.
1. Start BetweenRows
docker run -d --name betweenrows \
  -e BR_ADMIN_PASSWORD=changeme \
  -p 5434:5434 -p 5435:5435 \
  -v betweenrows_data:/data \
  ghcr.io/getbetweenrows/betweenrows:0.17.3
Port 5434 is the SQL proxy (where your users connect). Port 5435 is the admin UI and REST API. The -v flag persists the admin database and encryption keys — do not omit it.
→ Full options: Docker installation guide
2. Sign in to the admin UI
Open http://localhost:5435 and log in as admin / changeme.
TIP
Pin your Docker tag to a specific version (:0.17.3, not :latest). Breaking changes between minor versions are called out in the changelog.
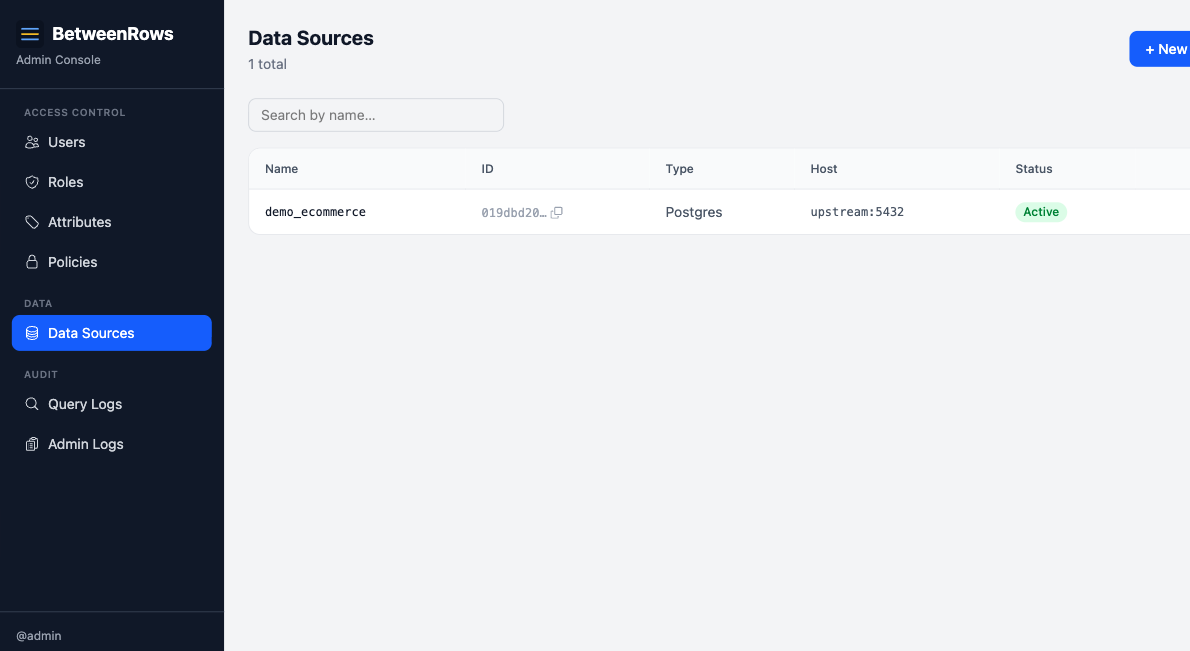
3. Add a data source
Go to Data Sources → Create. Enter your PostgreSQL connection details (host, port, database, username, password), select an SSL mode, and click Test Connection. Once the test passes, save.
→ Full options: Data Sources guide — covers every field, access modes, credentials handling, and multi-datasource patterns.
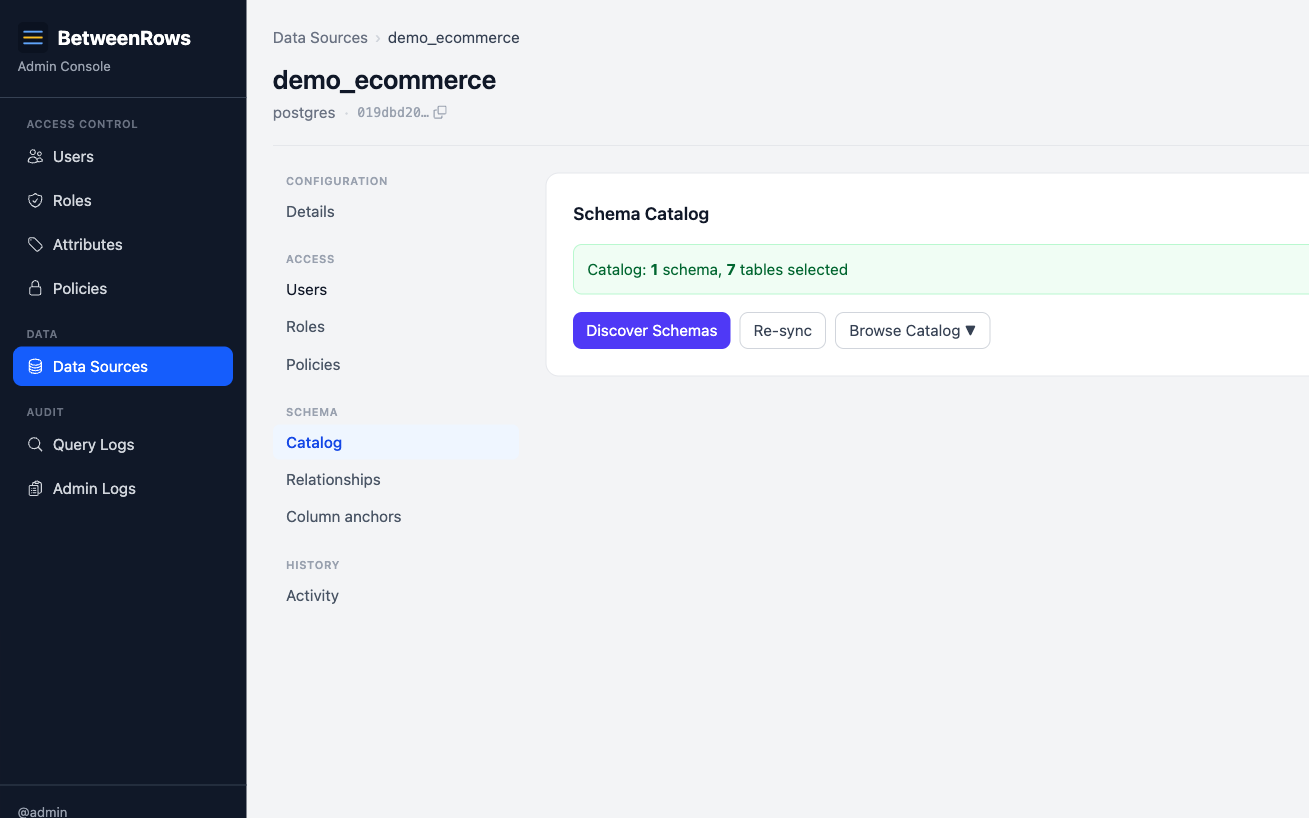
4. Discover the catalog
On your new data source, click Discover Catalog. Select which schemas, tables, and columns to expose through the proxy. Anything you don't select is invisible to users — BetweenRows defaults to an allowlist model.
→ Full options: Data Sources guide → Catalog discovery
5. Create a user and a tenant attribute
Go to Attribute Definitions → Create. Define a
tenantattribute with value typestringand allowed valuesacme,globex,stark(or whatever your tenants are).Go to Users → Create. Create a user named
alicewith a password. Edit alice and set hertenantattribute toacme.On the data source page, grant
aliceaccess by adding her in the User Access section.
Admin ≠ data access
Being an admin does not grant data plane access. Every user starts with zero data access and must be explicitly granted access to each data source.
→ Full options: Users & Roles guide · User Attributes guide
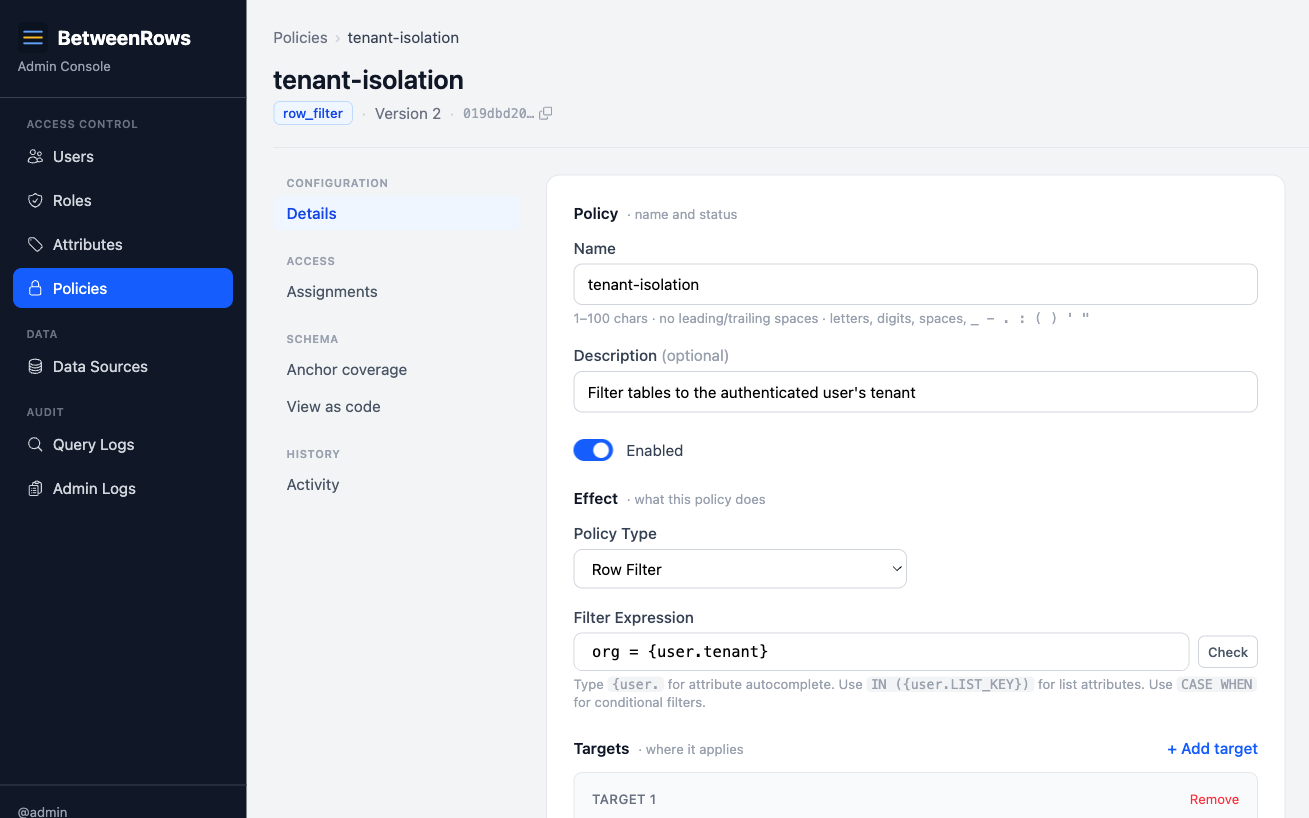
6. Write a row filter policy
Go to Policies → Create. Set:
- Name:
tenant-isolation - Type:
row_filter - Targets: schemas
*, tables* - Filter expression:
org = {user.tenant}
Save the policy. Then assign it to your data source with scope All users.
This single policy ensures every user sees only the rows where org matches their tenant attribute.
→ Full options: Row Filters guide · Template Expressions reference
Wondering why policies compose this way?
See the Policy Model for the philosophy — zero-trust defaults, deny-wins, and visibility-follows-access.
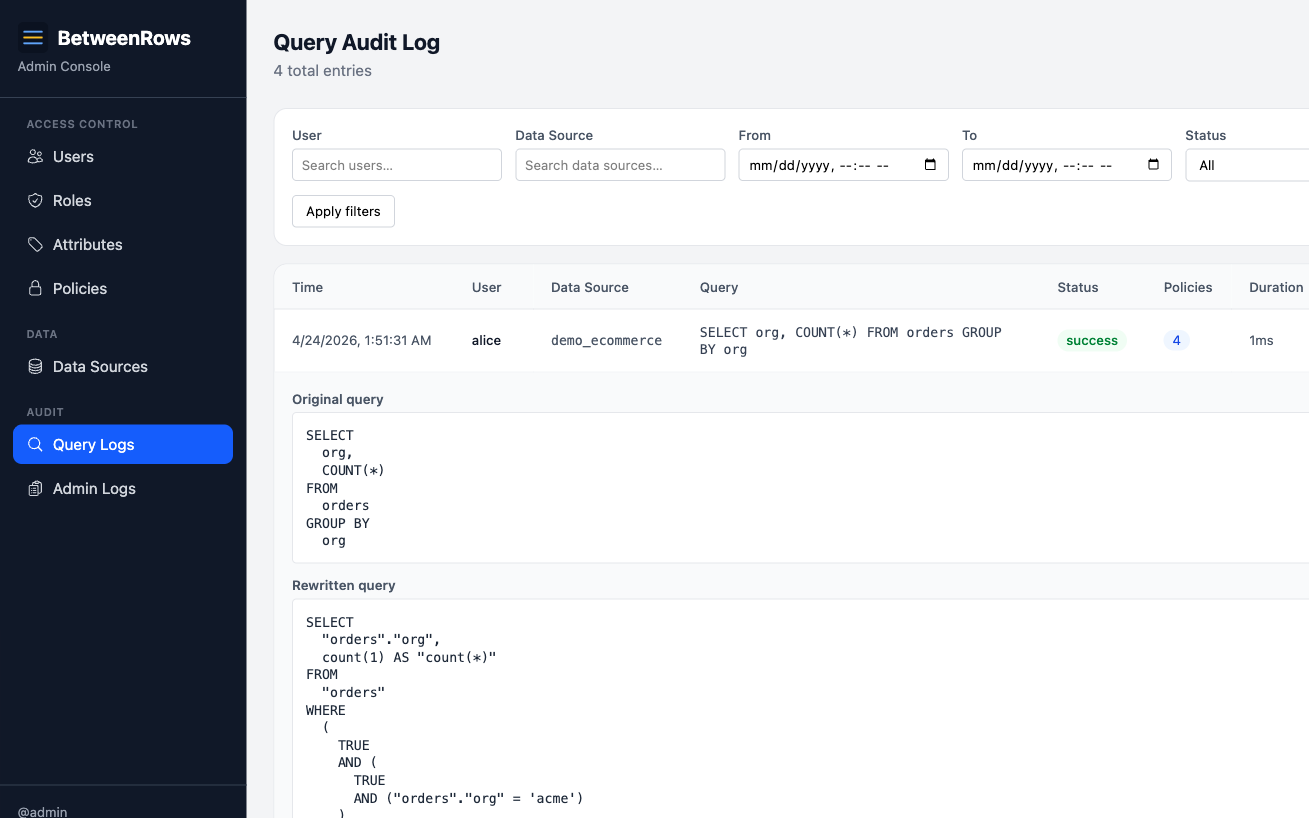
7. Connect with psql and inspect the audit log
Connect through the proxy using the data source name as the database name:
psql "postgresql://alice:[email protected]:5434/your-datasource"Run a query:
SELECT DISTINCT org FROM orders;Alice should see only acme rows. Create a second user with a different tenant attribute (e.g. bob → globex) and verify they see different rows.
Then open Query Audit in the admin UI to see what happened: the original SQL, the rewritten SQL (with the injected WHERE org = 'acme'), and which policies were applied.
→ Full options: Audit & Debugging guide
Next steps
- Multi-Tenant Isolation — the flagship use case at scale, with multiple tenants and bypass-resistance verification
- Column Masks — redact SSNs, emails, and PII while keeping columns queryable
- Column Allow & Deny — control which columns are visible per user or role
- Policy Model — the philosophy behind how policies compose
- Threat Model — the full security vectors and how BetweenRows defends against them